#57 My New Bedroom
Hi everyone!
Finally, I have written a new blog post after a few weeks of inactivity – also I haven’t even drawn anything during this time because I got addicted to playing Genshin Impact again. It feels like January is dragging on forever, and tomorrow is only Monday, January 29th. Haha, how time flies!
This weekend, I didn’t have any major plans. However, on yesterday (Saturday), I spent some quality time with my family to celebrate my parents’ 28th wedding anniversary. It was a beautiful moment that made me realize that I will also turn 28 this year. We had dinner at Luk Yuen, which is my favorite restaurant. Additionally, I had to purchase a new wall-mounted electric fan for my bedroom as the old one that I had been using for 20 years suddenly fell out. Fortunately, nobody got hurt. I bought a new Asahi fan for Php 1871.50, which was an unexpected expense. Nonetheless, I didn’t regret it, and I hope it lasts as long as my previous fan from Standard.
Today (Sunday), I cleaned my bedroom and had a heavy lunch. Currently, I am feeling very full. I am concerned about my weight as I have been gaining weight consistently, and it has not gone back to my ideal weight of 46 kilograms. Thus, I have decided to skip dinner this week and see if it makes a difference. Despite not changing anything in my diet, my weight continues to increase.
I recently did a makeover of my childhood bedroom, and I am excited to share my experience. While it's not my place, I was able to make significant changes to the area without spending a large amount fortune.
Step 1: Measure everything first.
Before starting my room design project, I made sure to measure everything accurately. Luckily, as part of my chosen career path, I owned a laser meter and developed some drawing skills. My room was fairly small, measuring only 1.98 meters by 2.77 meters including the space above the wall. After taking measurements, I used SketchUp to create a visual representation of my room.
Step 2: Plan carefully.
My room is extremely small, to the point that it does not meet the minimum habitable space requirements specified in the building code of the Philippines. As an architect, it’s quite funny that I sleep in a room that does not comply with the law, but that’s the reality. Before buying any furniture, I had to draw everything first, especially the bed, to ensure that it would fit in the limited floor area. Since the room is tiny, I had to consider the foot traffic, which is crucial. To maximize the limited space, I opted for a loft bed. I had to consider the location of convenience outlets as well.
These are the last illustrations of my bedroom.


Step 3: Declutter useless things and start packing.
This is where the tiring part begins. I always believed that whenever you buy something new, you should get rid of something old to avoid clutter in your home.
Step 4: Start procuring.
I didn’t spend a lot on my bedroom makeover, but I also didn’t get a great deal. Instead of buying expensive wallpaper and vinyl planks from construction suppliers, I purchased those things from Shoppee. I didn’t want to spend too much money on this house since I didn’t own it.


Step 5: Start building.
I redecorated my room at the end of August. Before I put up the wallpapers and flooring that I bought, my father and I went to Wilcon to buy materials for the new convenience outlets and switches. I was glad that my Architects chapter gave me a gift card to use, which was a big help in lessening my expenses. My mother came along with us, and I had so much fun spending time with my parents while we were fixing the electrical outlets in my bedroom. My father followed my drawing religiously, and all he asked for was food, so I bought him one from Wendy’s!
I installed the wallpapers and flooring myself during my off days. It was exhausting as my room had no ceiling and you could see the slab. But this turned out to be an advantage since there was enough vertical space for a loft bed.
 |
| Sorry for the imperfections! |
I bought this loft bed from IKEA for my bedroom instead of hiring a carpenter to build a wooden one. Despite the higher cost, steel beds are longer-lasting than wooden ones and people can disassemble them without impacting their quality.

When my mom and I visited the IKEA showroom, I bought two wall sconces to go with the bed. Initially, the bed wasn’t available online, so I had to wait until October to purchase it. I’m also keeping track of my finances, so I made sure to save up for my future before buying it.

 |
| Food trip at IKEA! |
Upon the arrival of the bed, it took us over four hours to assemble it. The process was quite challenging, and I wish the IKEA designers had provided more descriptive instructions instead of just illustrations. To make up for the time and effort, I used my credit card points to redeem a take-out meal, as all of us were too busy to cook on that day! (Sorry I forgot to take photos of the assembly process!)
 |
| Today's photo! The small fan is a hand-me-down from my loved one, and I've reused the shelf and pegboard. |
 |
| It's amazing to see the loft here! Thanks to the high vertical clearance, sitting on this bed is actually quite comfortable. The 'headboard' is actually a folding bed that I use whenever I want to watch a movie downstairs. I just bought a new cover for it, and now it looks great. |

 |
| This ledge is highly functional because you won't have to go downstairs just to drink water! |
In December, I bought a cabinet at All Home StarMall and got a discount on it. I chose the white one to match my loft bed and ergonomic chair. Assembling it was not as difficult as the loft bed. It was the last piece of furniture that I bought for my bedroom and I'm grateful to my father for assembling everything for me!
 |
| I couldn't find this item online, but it costs approximately Php 4,000. |
I bought other items such as the desk, shoe box, and door hanger from Shoppee. The discount vouchers helped me save.
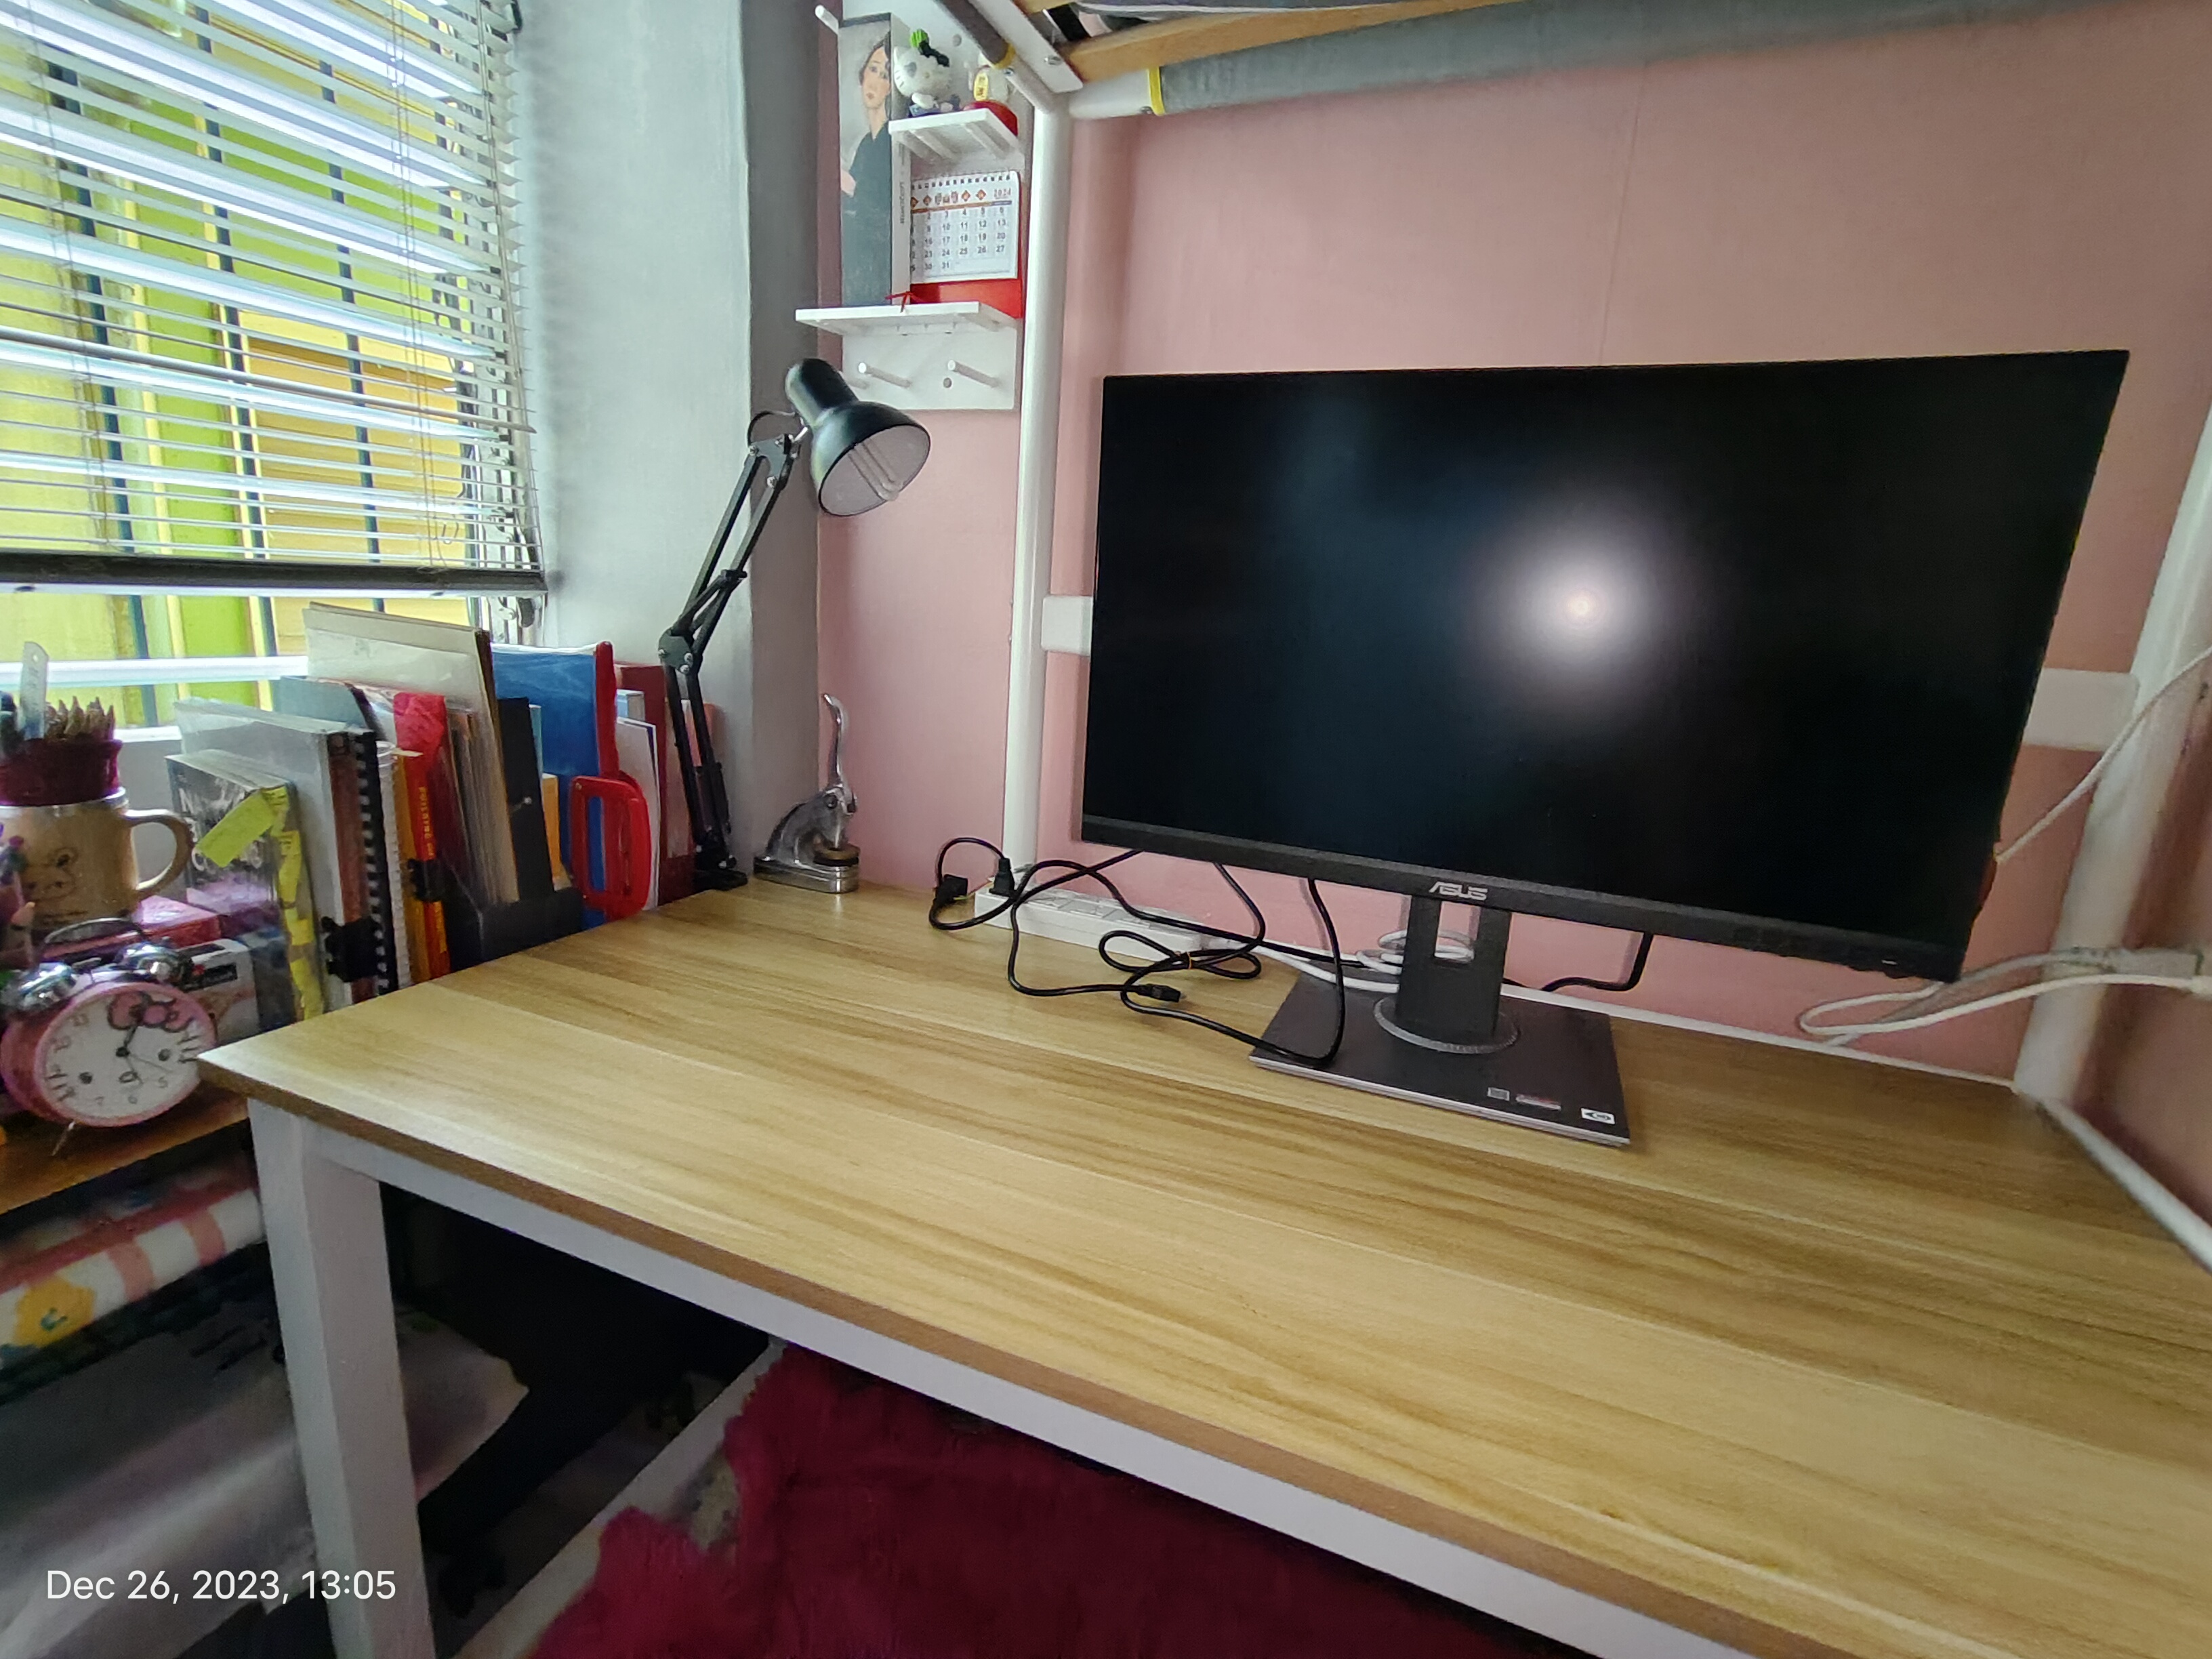 |
| Table from Shoppee, around Php 1,500. |
My new room cost a total of Php 31,000 including the small purchases. I did not buy everything at once!
I may not have the most luxurious room, but I am content with my newly redecorated room as it enables me to move around more freely than before. Additionally, my beloved Jack Russell Terrier still sleeps with me, and I am grateful that she has been potty trained since she was a puppy.


 |
| It's easier to take a mirror selfie now because I can move easily compared before. |
I consider this as one of the best gifts I’ve ever given to myself. It feels rewarding, knowing that I used to sleep in this room when I was a kid, and now, as an adult, I’ve transformed it into something that represents my growth and progress. I’m looking forward to the day when I can blog about my very own condo unit purchase!
Until then!